阿里Arthas如何使用
阿里Arthas如何使用
本文介绍下arthas如何监控服务集群
Web Console
先从arthas官方github上releases下载arthas-tunnel-server
Arthas tunnel server是一个spring boot fat jar应用,直接
java -jar启动:
java -jar arthas-tunnel-server.jar默认情况下,arthas tunnel server的web端口是
8080,arthas agent连接的端口是7777。启动之后,可以访问 http://127.0.0.1:8080/ ,再通过
agentId连接到已注册的arthas agent上。通过Spring Boot的Endpoint,可以查看到具体的连接信息: http://127.0.0.1:8080/actuator/arthas ,登陆用户名是
arthas,密码在arthas tunnel server的日志里可以找到,比如:
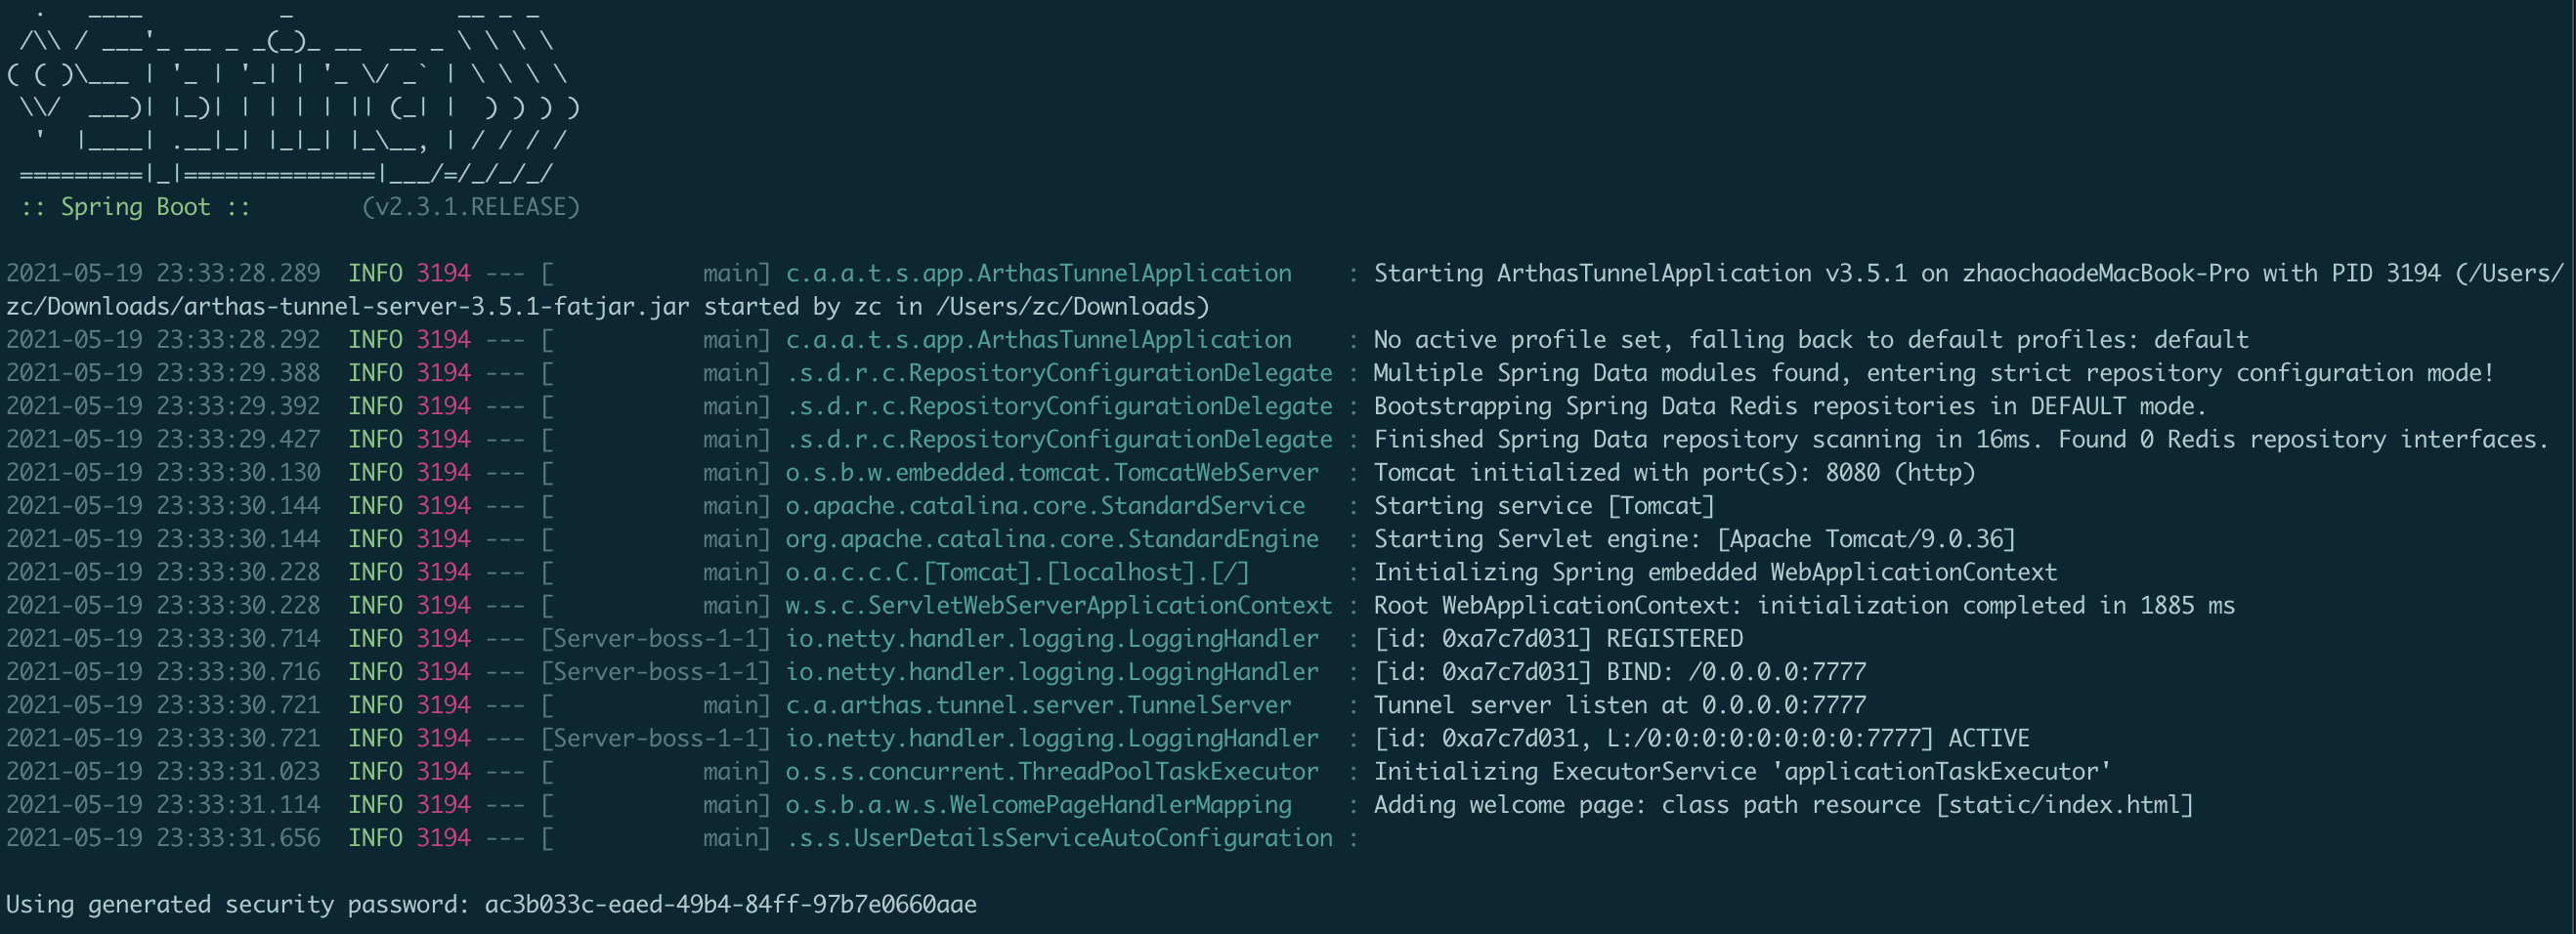

Spring Boot的Endpoint查看到具体的连接信息
登陆用户名是
arthas,密码在arthas tunnel server的日志里可以找到

Arthas Spring Boot Starter
注意:目前只支持SpringBoot2
添加pom依赖
1 | |
最新版本:查看
配置属性
1 | |
之后直接启动SpringBoot服务后查看

查看agents注册上来的服务id,之后在填入web端的AgentId,再点击Connect连接。
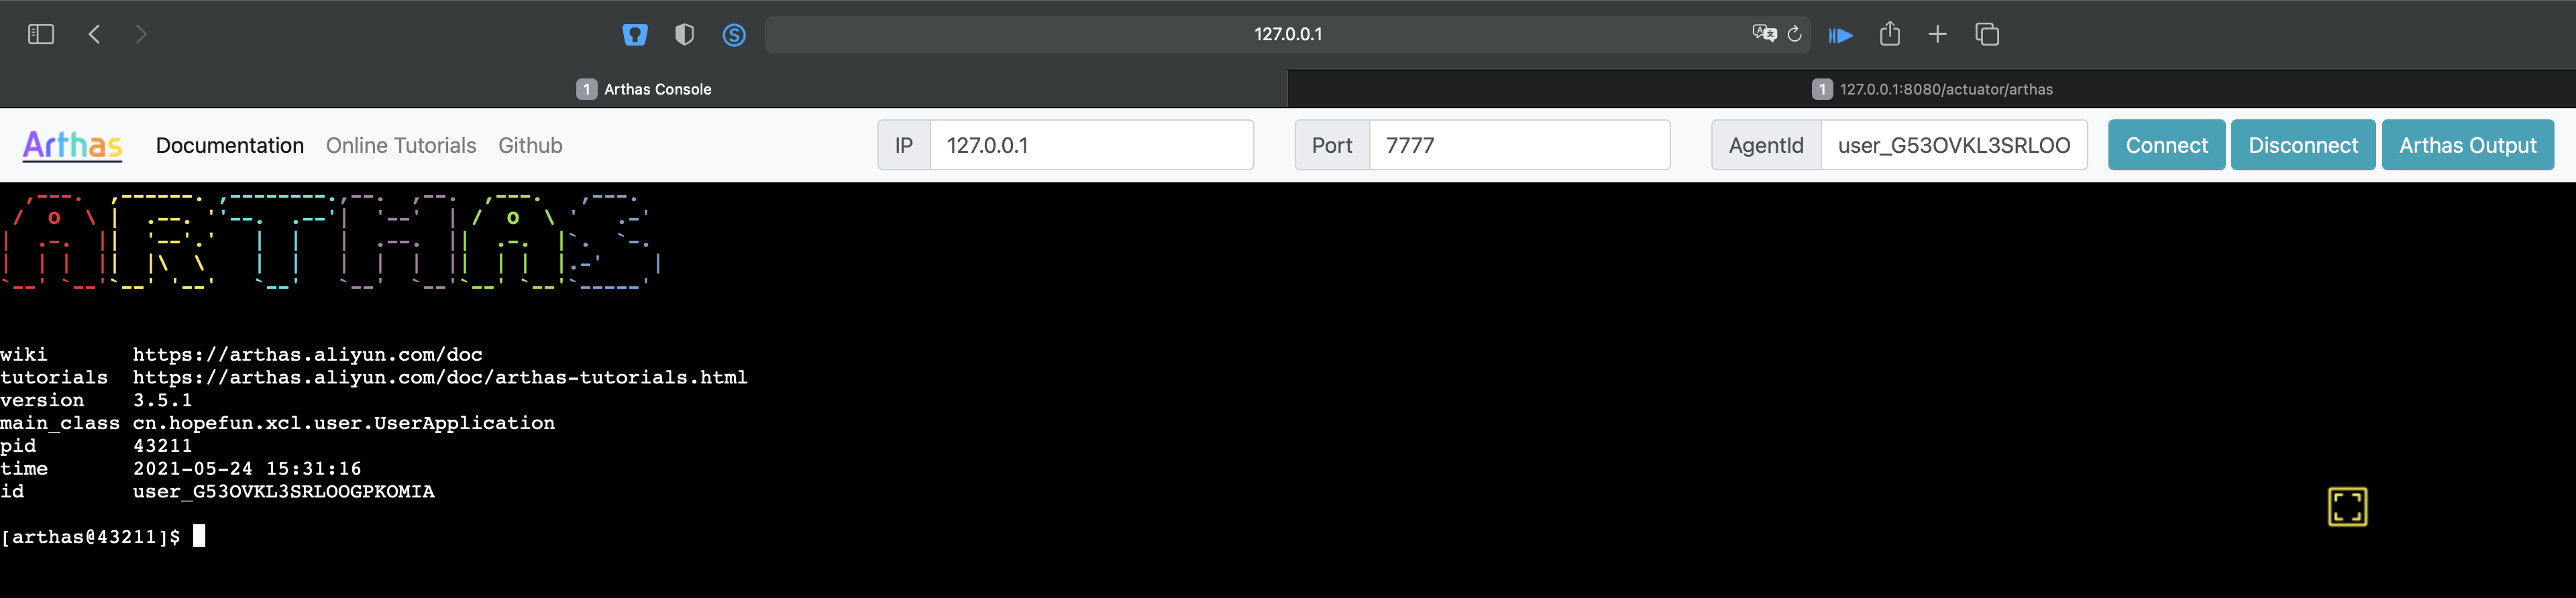
之后,我们就可以通过arthas的相关命令去操作该服务
阿里Arthas如何使用
https://happyloves.cn/20210525/1da1145904a0.html